Tag: Art

Duffy’s 30th Birthday Celebration

To celebrate 30 years of Duffy books in homes Panmure Bridge hosted a celebration. I helped by bringing a giant Duffy to life with the help of some others. We started by using a projector to trace Duffy and carefully painted each section seperatly. When we finally cut him out we placed him on a stand for everyone to see. To celebrate Duffy books in homes we were given the opportunity to create our own book library’s to store all of our Duffy books. Every other class created their own books aswell and we set them out in the hall for decoration.

We had special guests from the Duffy books in home programe and they talked about their experience with Duffy books and their favourite books. Some of the teachers also shared their favourite books. We sang Happy birthday is English as well as Maori, and also sung the Duffy sign with actions.

I found this fun because Duffy books in homes is a program that helps many schools who don’t have the oppourtunity to read books.

My Duffy Library

To celebrate 30 years of Duffy books in homes we all were given a Duffy library box to store all of our Duffy books. we started off by looking up some zentangle or cultural designs that we could use as inspiration for our box. I started off by drawing everything using pencil then I went over it with a fine black vivid. I drew turtles, flowers, a stingray and a Tui bird. We set them out on the hall so that everybody could see them during the duffy celebration. Once it finished we were given a Duffy book to store in our library’s, I chose Mulan.

I found this activity fun because I enjoy doing art and got to use my creativity to come up with designs.

Tech | Paper Mache

For tech we were challenged to create a paper mache mask. First we blew up a ballon and put at least 3 layers of paper to it would stay together, once it dried the next week we added facial features by building up the paper. Finally we were able to design, I started by butting a white base then painted the eyes. once that dried I watered down some paint so it would drip down and flicked some of it to make a sprayed effect.

I enjoyed this task because I got to use my imagination to come up with my own mask design.

Tivaevae Design

We were challenged to create a tivaevae design to celebrate Cook Island language week. To create my Tivaevae design, I did some research and looked at many different designs. I saw that all of them had flowers, so I decided to add hibiscus flowers since they are common in the cook islands. One of the rules for a tivaevae designs is that is must be symmetrical. So I drew one side then copied it and flipped it over. I carefully thought about what colours and gradients I should use to make my design look realistic.

I enjoyed this activity because I got to use my creativity to create my own tivaevae design.

Matariki Star design

LI: To plan, design and create a class star for Matariki that tells a story.

I was challenged to create a Matariki star design that tells a story behind it. My star tells the story of the Māori gods separating their parents, Papatuanuku and ranginui the earth mother and sky father. To achieve my finish product I first sketched on paper what I wanted my finished design to look like. Then I started by drawing Papatuanuku and ranginui in the middle. After I completed them I started putting Māori gods on each star point.

I found this task fun because I enjoy art and I liked

Taniwha name

LI: To understamd the Treaty of Waitangi.

LI: Understand how culture connects with your name.

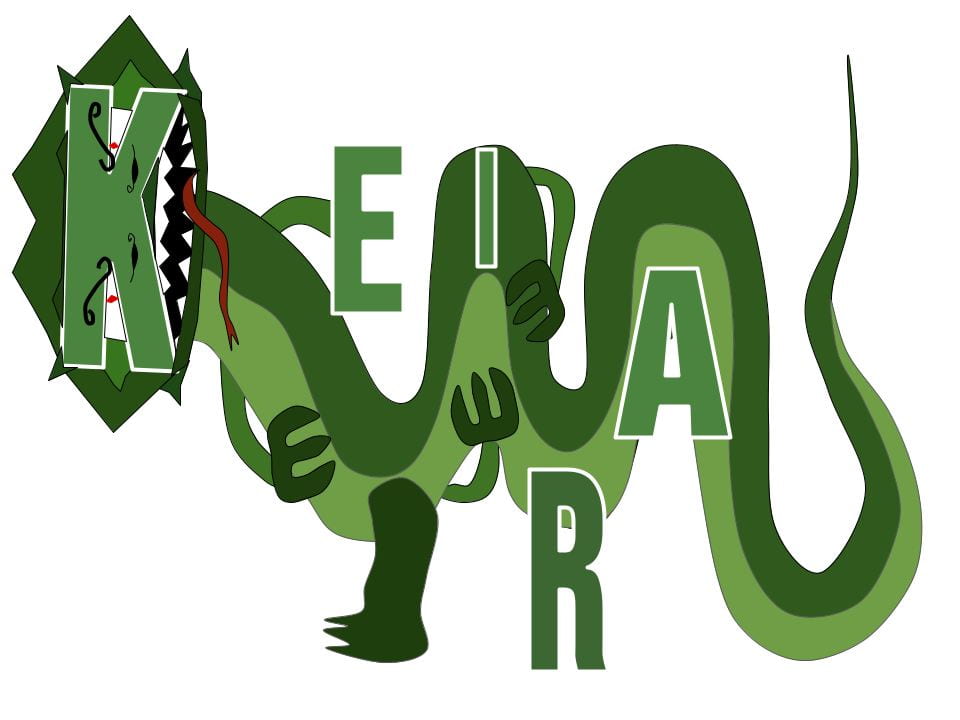
I was challenged to draw a taniwha but to incorprate my name into the design. First my idea was to start with the K, I used this letter as the base of my taniwhas head. then I used the E as a hand, and the R as a leg. Then I added the I and A to different parts of the body for design.

I found this task fun because I enjoy doing art, and I was challened to try and add my name somewhere in my design.

Collaborative Art

LI:  To use different types of warm and cool colours to recreate a world-known painting from Van Gogh.

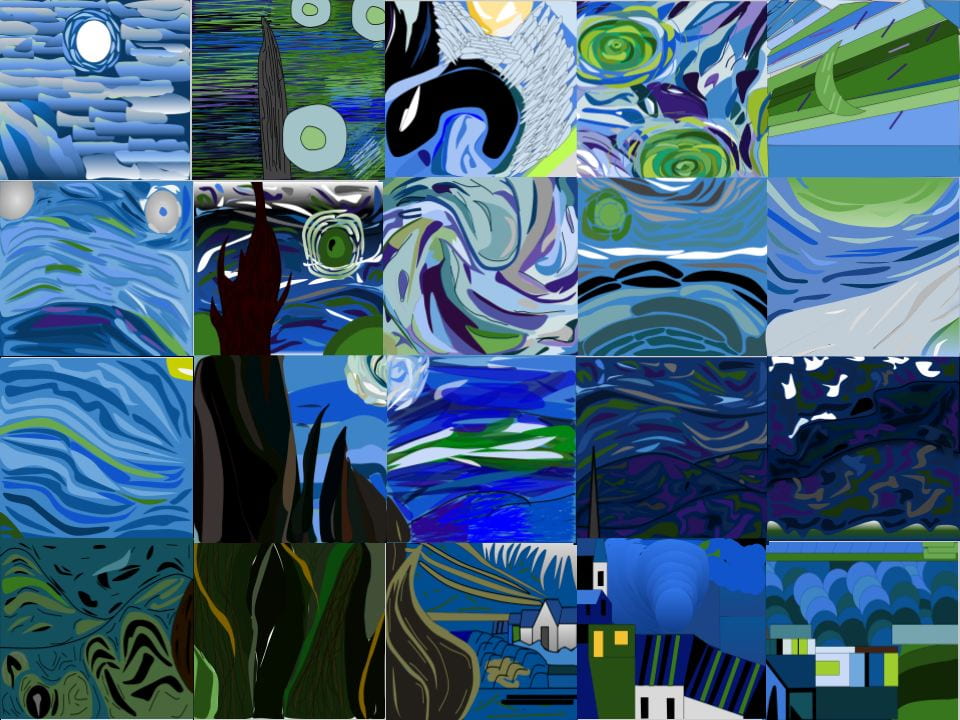
This week’s art is about Van Gogh and his famous art piece “The Starry Night”. The Class was divided into 2 groups of 16 people, 1 of each group remade “The Starry Night” in warm colours and cool colours digitally. Each group divided 16 pieces of the Starry Night with each person in the group. Working as a collaborative team we gathered all or pieces to 1 DLO to finally reach our desired outcome.

I found this activity fun because I worked with everyone and used my art skills to re-create a square from a famous painting.

SLJ Art for arts Sake

I completed the summer learning journey task called art for arts sake.

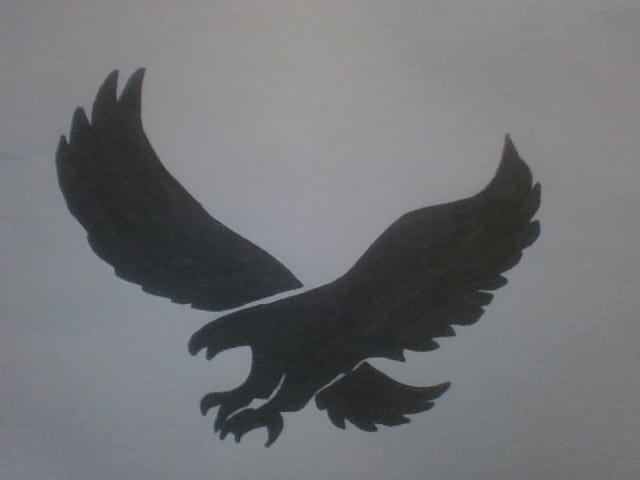
First I chose what I wanted my silhouette to be, I chose a flying eagle.

Then, I drew the eagle on a piece of paper and coloured it in black.

Lastly, I cut out my black silhouette, and stuck it onto a white piece of paper.

I enjoyed this task because I enjoy doing art.

SLJ Cool Character

For the summer learning journey I created my own character using materials from outside.

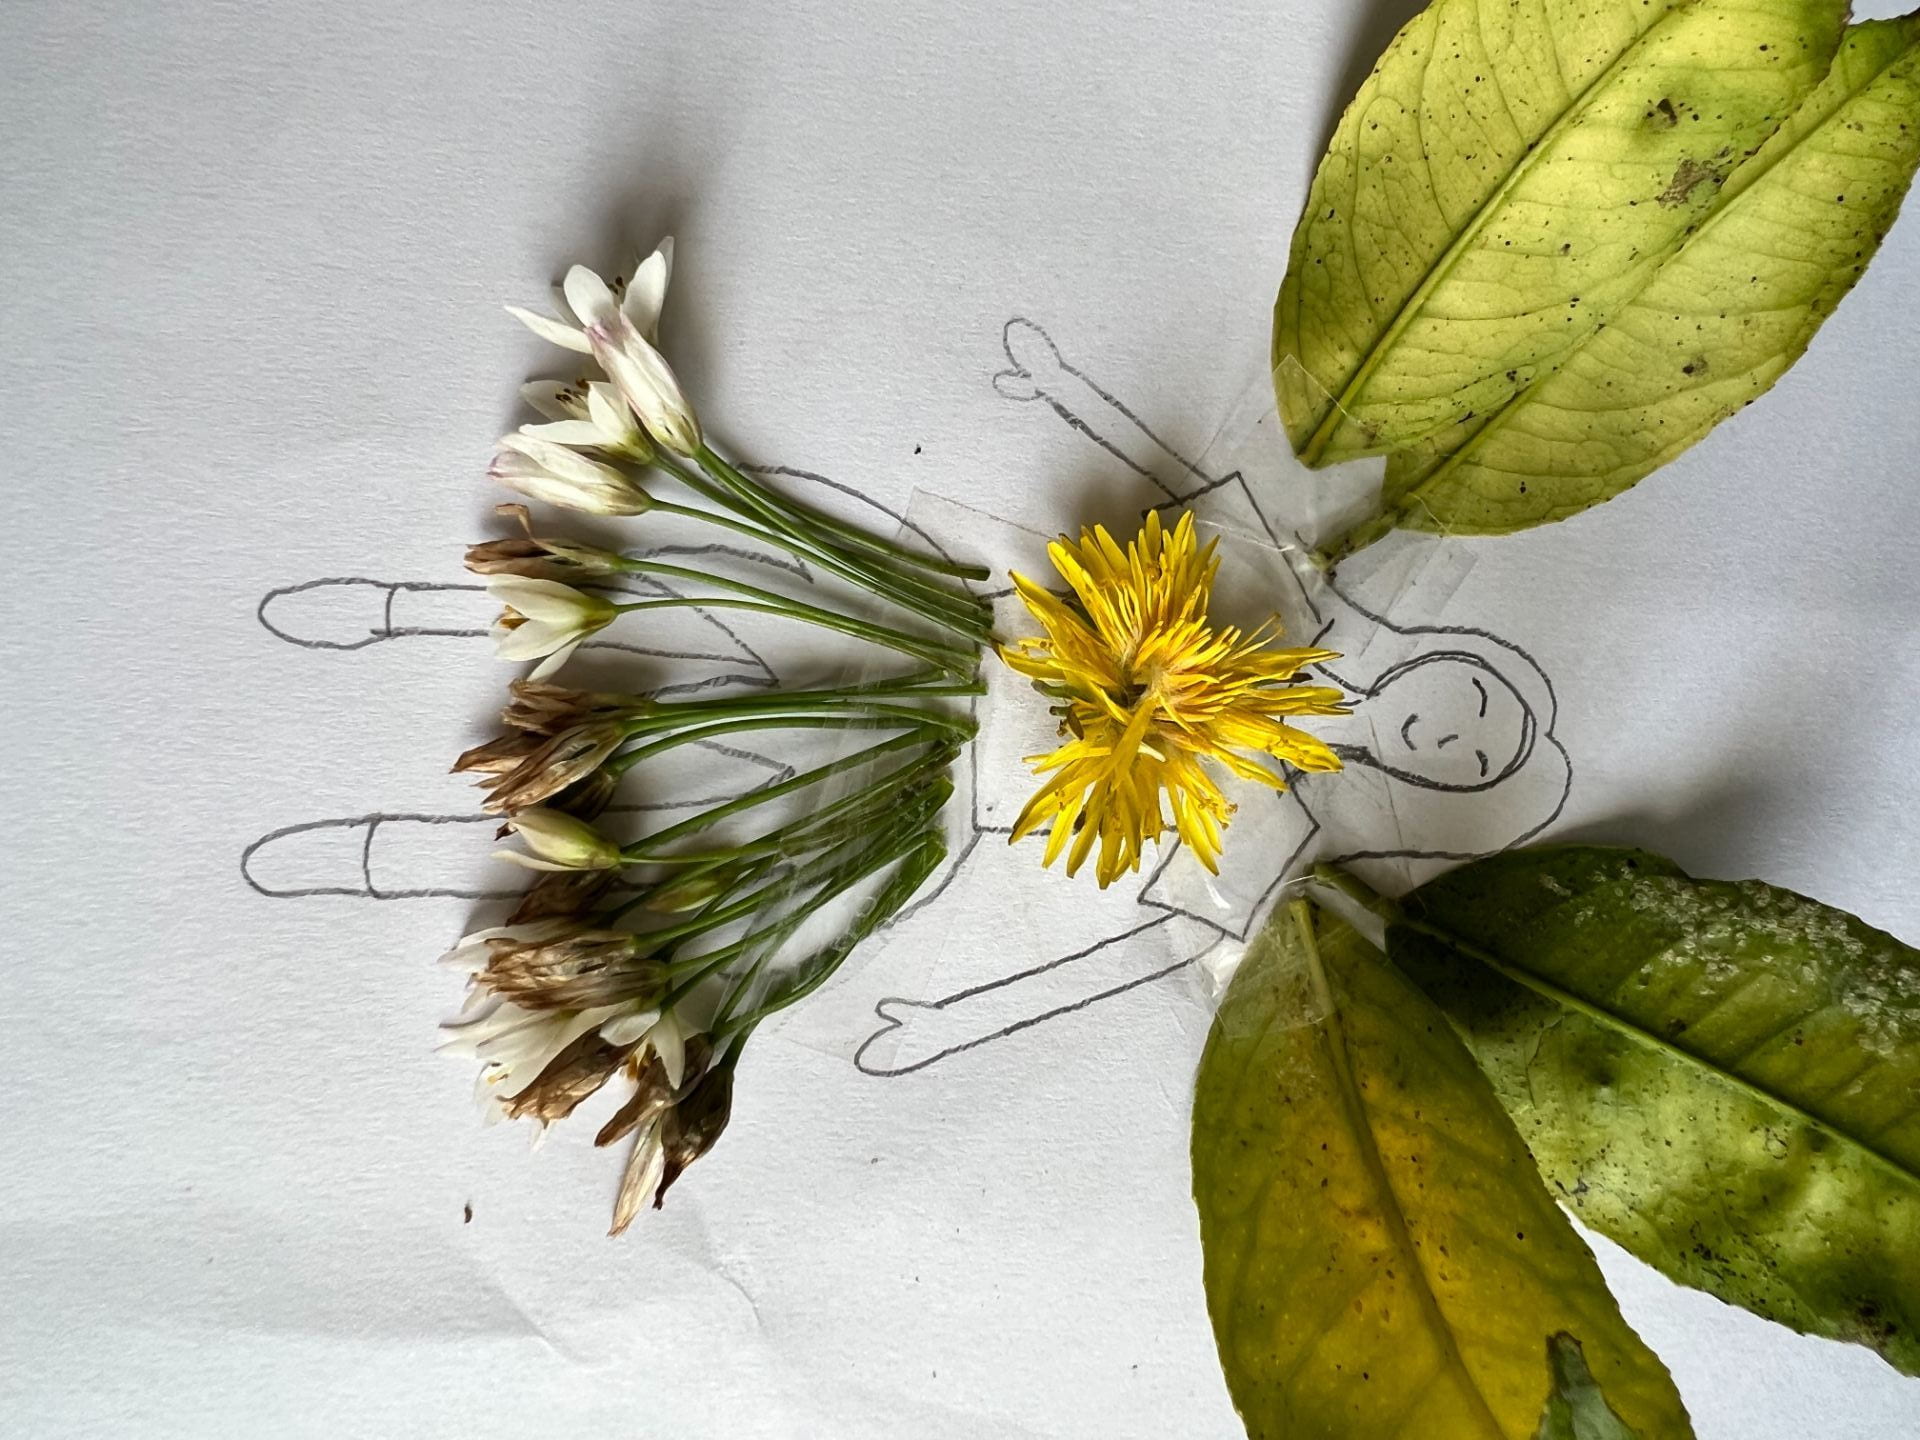
I went out into my backyard and collwcted some materials to assemble my character. I used items like flowers and leaves to make this.

I made a fairy and her name is Blossom. I used a sunflower for her T-shirt, white flowers for her skirt, and leaves for her wings.

I enjoyed this activity becuase I got ot spend time outside looking for items to create my own character.

Art | LS1 Class Whale Tail

For the past few days me and Alexxa have been working on the LS1 class whale tail.

First, we needed to create a design that we wanted to be on the whale tail. For our design, we chose to do a half and half, one half of the whale tail would be dark and dull colours to represent a sad future for the whales if we keep killing the whales and keep polluting the ocean. The other half has bright and fun colours to represent a happy future for the whales if we stop killing them and stop polluting the ocean. Then the class had to vote on which design was the best, my design won with 22 votes! The other teams had 12 and 7 votes.

Then, we drew all of the guidelines for where the masking tape would go. Once we finished drawing all of the lines, we put masking tape on top of all of the lines so that when we started painting the whale tail so the edges wouldn’t look bad.

Lastly, we started painting the whale tail, we painted the sad half purple, black, and dull green. Once we were finished with the green and purple, we started doing the orange and pink for the other half. Once we did those colours, we started painting the last spaces navy blue and black. Once we waited for the whale tail to harden and dry, we put more masking tape on the sides of all the spaces to do the black lines between the spaces. We have not finished the whale tail yet, but it looks really good.

I enjoy creating the class whale tail because I like painting and peeling the tape of the tail. I think that even though the whale tail is not done, it is really cool. I need to try and finish getting the whale tail done. I am good at cutting the masking that goes over the edge of the whale tail.